Extension 101 tutorial series
JSON Web Tokens (JWT)
We need to explore how to keep communications secure through JSON Web Tokens (JWTs). For more information about JWTs, look here.
Concept: A JSON Web Token (JWT) is a JSON object that is signed by Twitch, using a secret shared between Twitch and the Extension developer. The JWT contains properties such as channelID or expiration_date. To see other properties, consult the JWT Schema.
Twitch Extensions specifically use two roles of JWTs: broadcaster and external.
Role 1: Broadcaster
- When the Extension is loaded into browser, a signed JWT is provided to the front-end iFrame through the Extension Helper Library’s
onAuthorizedcallback function. - When the Extension’s front-end is communicating with backend, the token is sent and verified using the Extension’s shared secret. This helps prevent malicious users from directly calling the backend.
Role 2: External
- When the backend needs to call a Twitch API, it must generate, sign, and include a JWT in the header. This is known as “bearer token authentication.” By signing your own token with the shared secret, Twitch can authenticate that the API request is in fact coming from your backend.
In this section, we will be demonstrating how to use a JWT to authorize the communication between the users and the Extension’s backend.
Step 1: Adding Authorization Header to AJAX call
When viewers submit a WYR question from the panel view, the JWT that was provided via onAuthorized needs to be sent in an HTTP header to the backend. Let’s go back to our AJAX POST call in viewer.js and pass in the JWT through the headers parameter by adding. Thus, our new AJAX call should look like this:
Step 2: JWT Secret
Once the JWT is sent to the backend, the next step is verifying the authenticity of this token. We do this by using a Shared Secret.
Concept: Each Extension maintains a shared secret that is used to sign tokens that validate the identity of users. Extension Secret is base64 encoded and is provided to you by the Extension Manager.
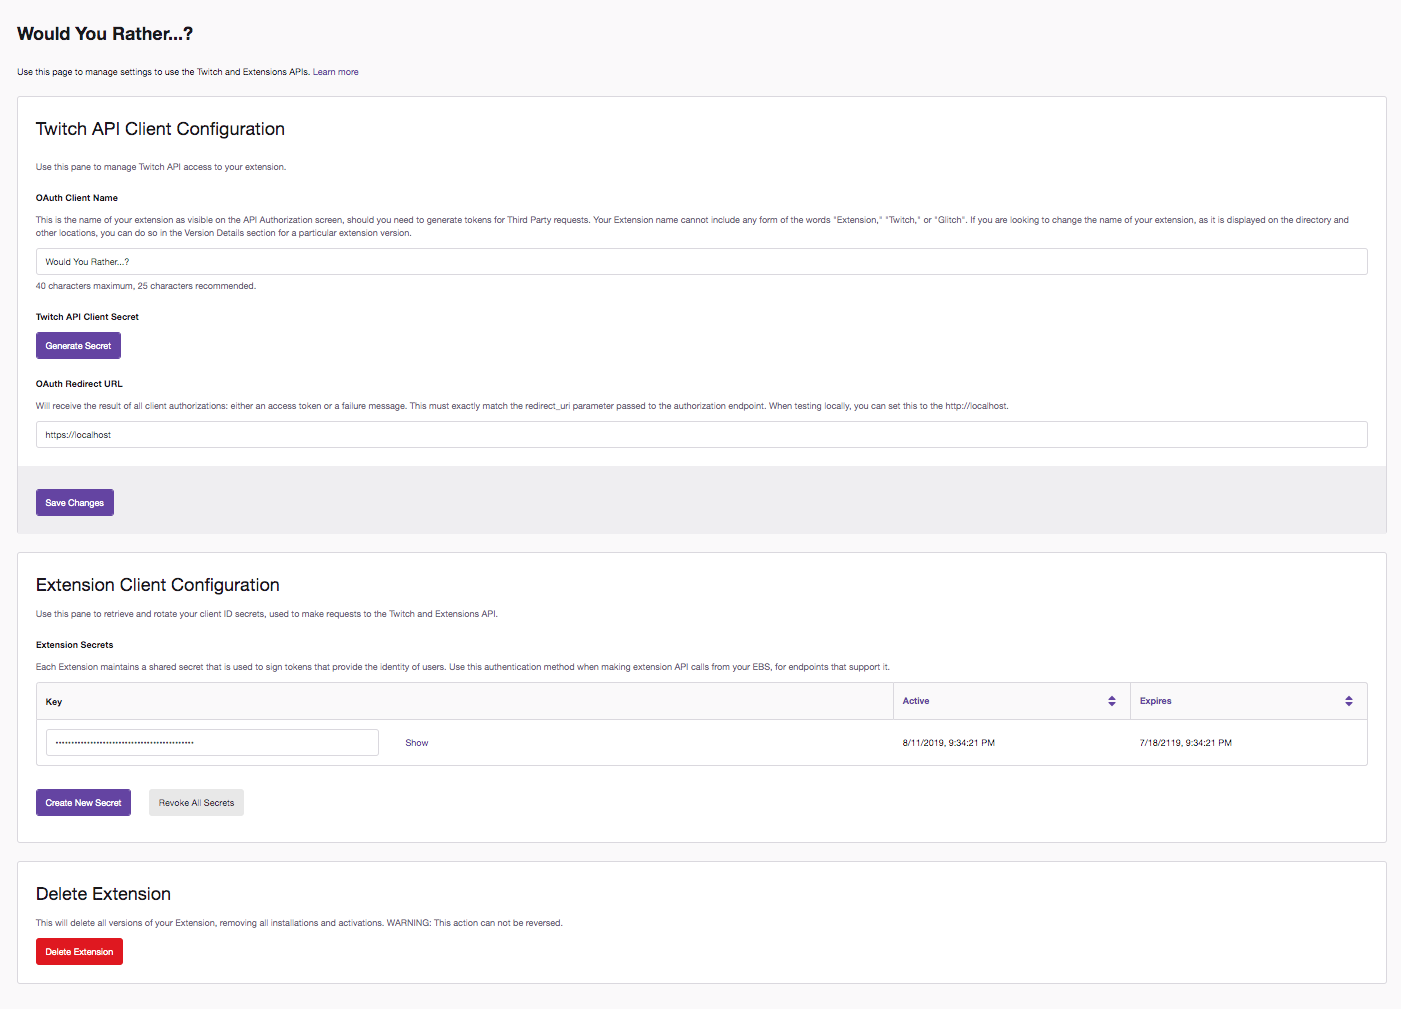
To retrieve the secret, lets go to the Extension Manager. To get to the Manager, go to the console, select a version of the Extension and click Manage. Once on this page, you will see the default status page. On the top right of the manager, click the Extension Settings button. You will see the following page:
Under the Extension Client Configuration section, copy the key provided. We need to use this key to verify that the token provided is signed with the same secret. To use the key, we first need to save it and decode it from its base64 encoding. Add the following lines to do this in backend.js:
  const key ="INSERT_YOUR_EXTENSION_SECRET_HERE";
  const secret = Buffer.from(key, 'base64');
Step 3: Verify the JWT
In the backend, we need to verify the JWT and save the JWT’s decoded content. We are going to create a function called verifyAndDecode in backend.js to carry out this logic:
The parameter passed into this function is the header from the AJAX call that contains the token. Using this header, we extract out the token, and use the verify method from the jsonwebtoken library, which is just a simple Node.js Library for verifying and signing JSON Web Tokens. This method returns decoded information that the JWT contained. Now that we have created this function, let’s use it!
We want to be able to call this verifyAndDecode method in the app.post() method. Remember, this method handles the response to the POST request. To do this, add the following line to the method:
const payload = verifyAndDecode(req.headers.authorization);
Thus, our routing method should now look like the following:
Step 4: Testing
Let’s test the extension! Since our extension is still in local testing, we can test the extension just like we did in Tutorial 4. Feel free to jump back to that section if you need to review how to test extensions in the console.
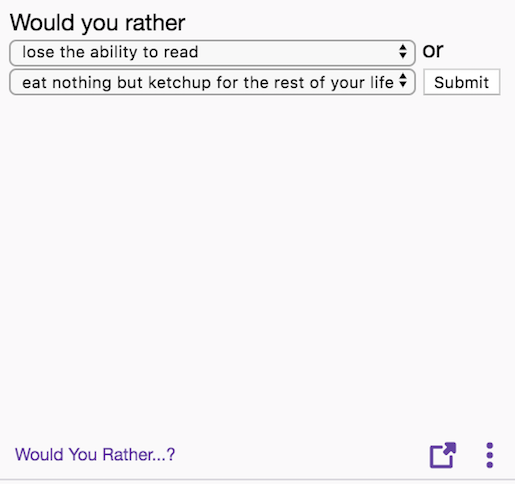
With these new additions we’ve added, be sure to save your files. Navigate to your channel, and scroll down to the Panel Section to see the extension view that viewers will see if this was live:
Submit a question and you should see a “Your Question has been submitted!” response.
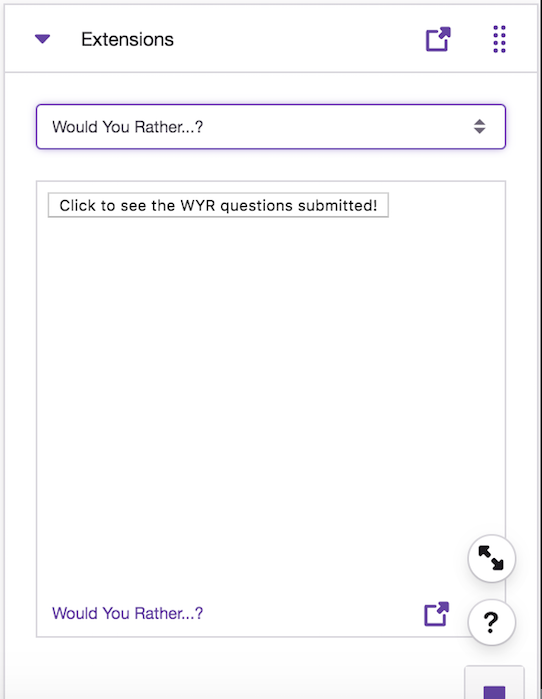
Now let’s confirm that the streamer can view the question (and other viewer’s questions). To do this, you need to navigate to your creator dashboard and go to the Extensions panel. In the dropdown menu, you will see all the extensions you installed. Click Would You Rather?. You should then see the following screen:
Clicking on the button should display the option you selected. Feel free to select more options and see how they will also be displayed.