Extension 101 tutorial series
Locally Test Your Extension
To test the Extension, go to the Extensions Developer Console. From there, click Manage next to the Extension name, and you’ll be redirected to the same status page we saw in Tutorial #1.
Step 1: Base URL
In Local Test, all Extension assets (files) are served from a defined testing base URI, so we need to use a local web server to host the files we’ve been working on in our local directory. Feel free to set up the local server in any way you want, and use any service.
Local Server Setup
One possible way to set up a local server is through Node.js.
- Install Node.js
- Run
npm install -g http-server - Go into file directory and then run
http-server. You will see something like this: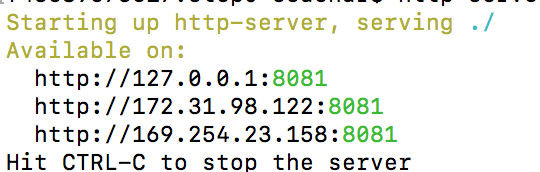
Once you have a server setup, click on the Asset Hosting Tab and edit the Testing Base URL to match URL from server set-up.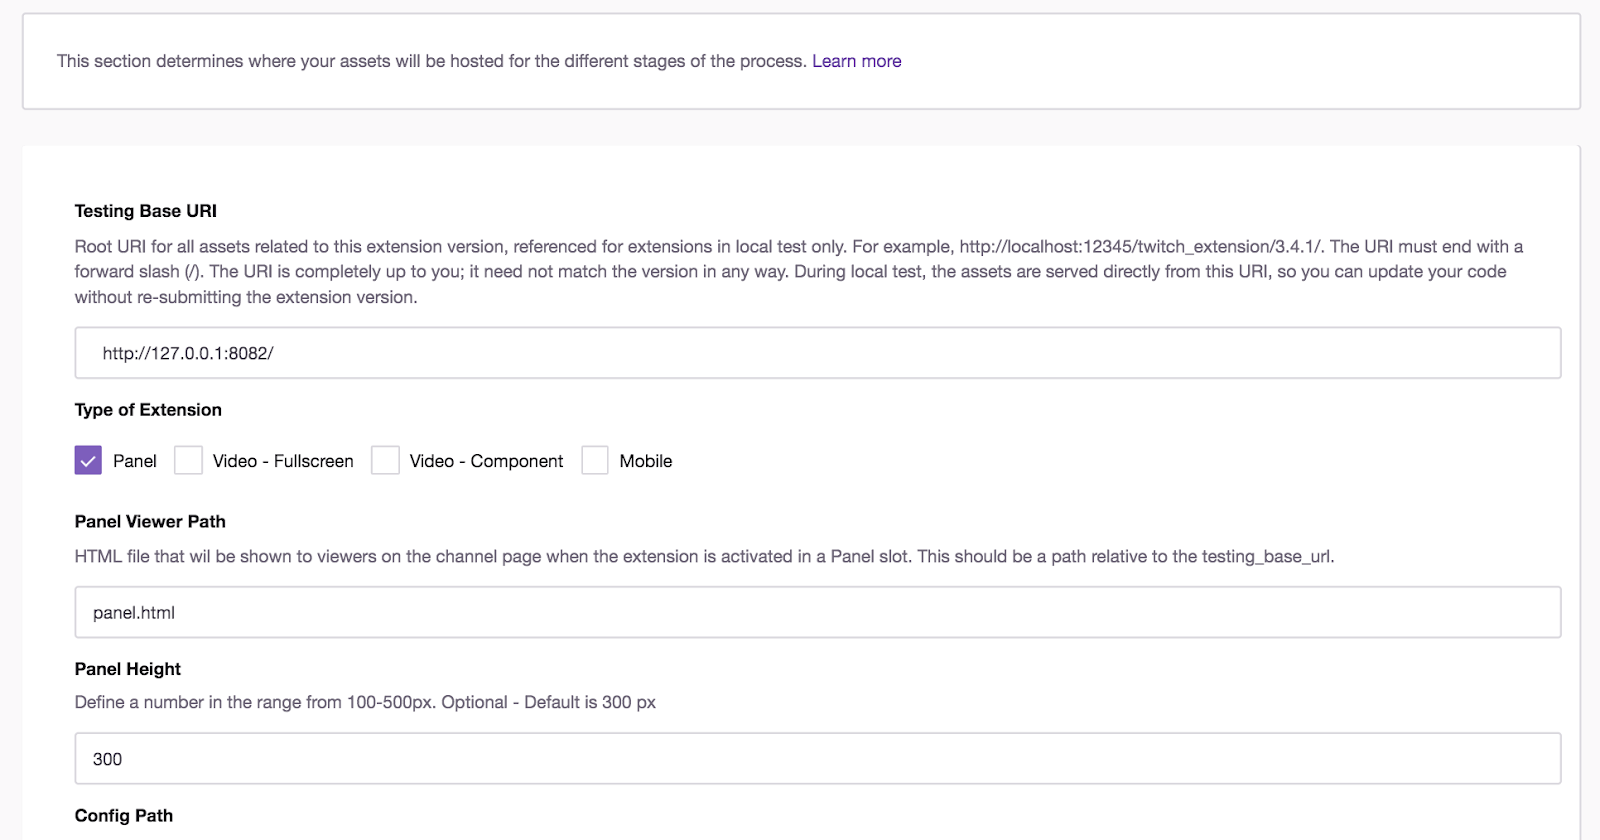
Check: Make sure when adding the URL of your local server into the section, that the URL ends with a forward slash (/).
Further Consideration: During Local Test, the assets are served directly from this URI, so you can update your code without re-submitting the Extension version. In Hosted Test, you can just directly upload your files and test your Extension without a local server; however, if you want to change any of your Extension version details (e.g., name, description, images, etc), you must move back to Local Test. In Hosted Test, assets are hosted by Twitch are copied to the Twitch CDN (Content Delivery Network) and served from there.
Step 2: Enabling the Configuration Service
Before testing the Extension, go to the Console Manager and enable the Configuration Service. Go to the Capabilities tab of the Extension Manager, and scroll down to the second frame, where you should see a section titled “Select how you will configure your Extension.” Select Extension Configuration Service, and then save the changes.
Step 3: Install, Configure, and Activate Your Extension
We are ready to see the Extension live on Twitch! To do so, go to the Status page of the Extension Manager, and scroll down to the section titled “Next Steps.” Click the View on Twitch and Install button.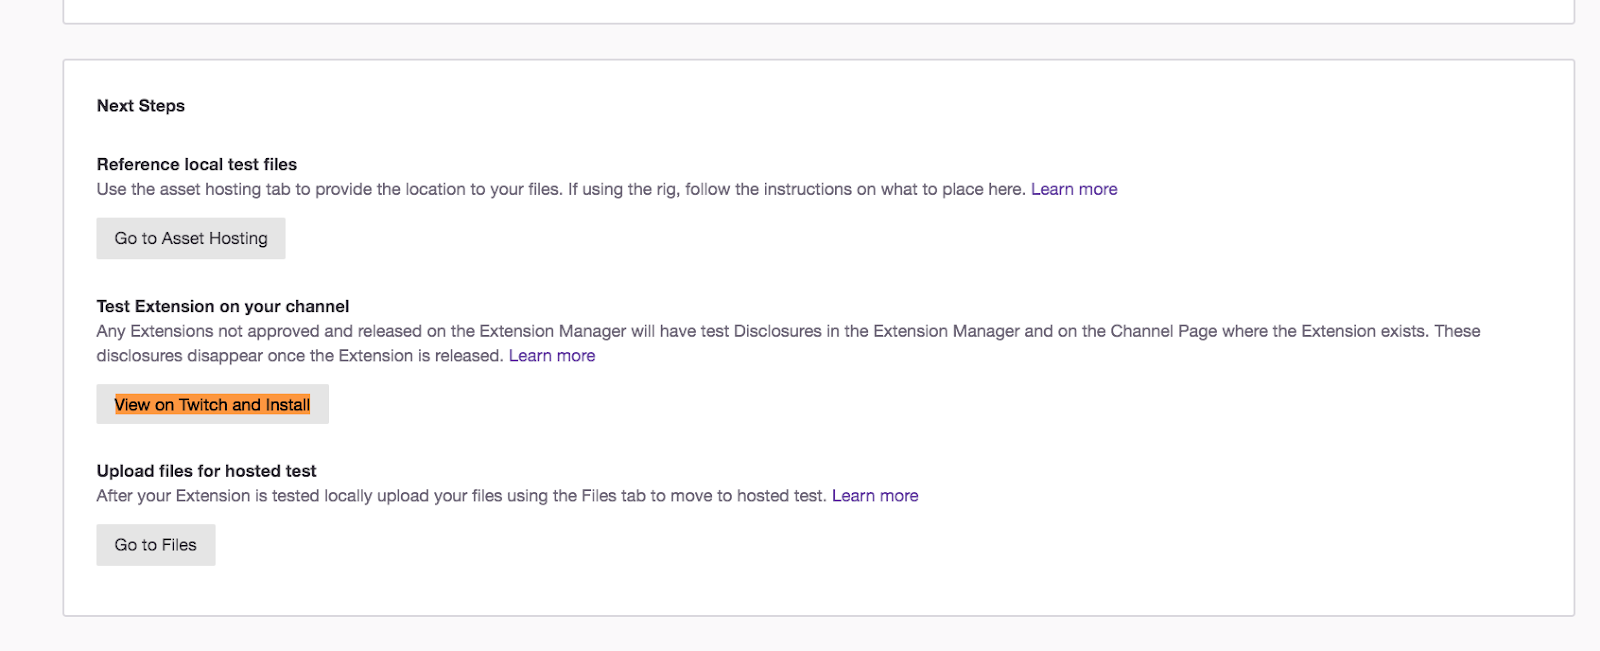
Clicking this button will open a new tab with the Extension Details page.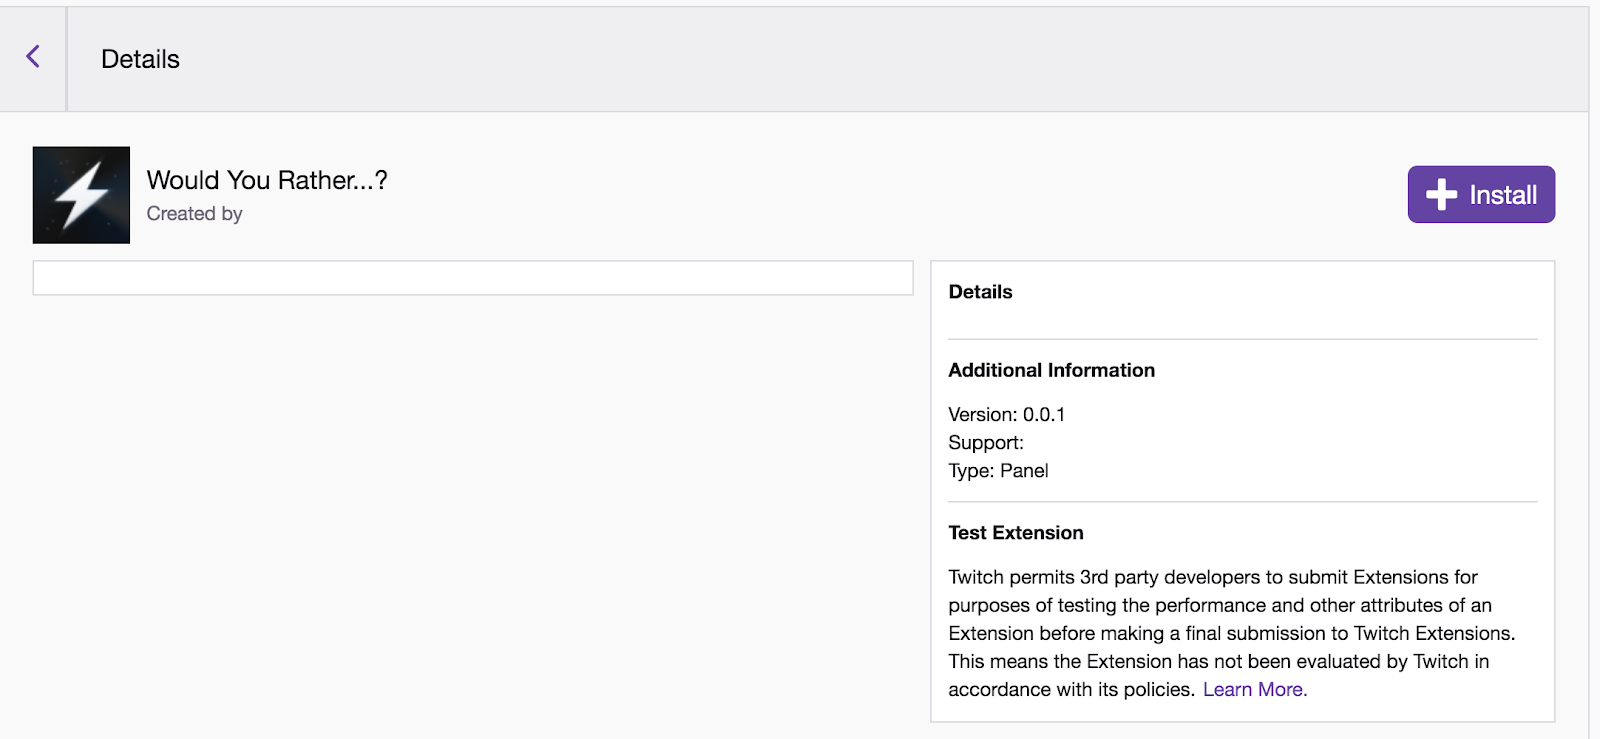
Installation: Next, click the purple Install button. When the Extension is installed, you will see a confirmation pop-up informing you that Extension installation is complete, and that if you want to activate the Extension right now, you need to configure it.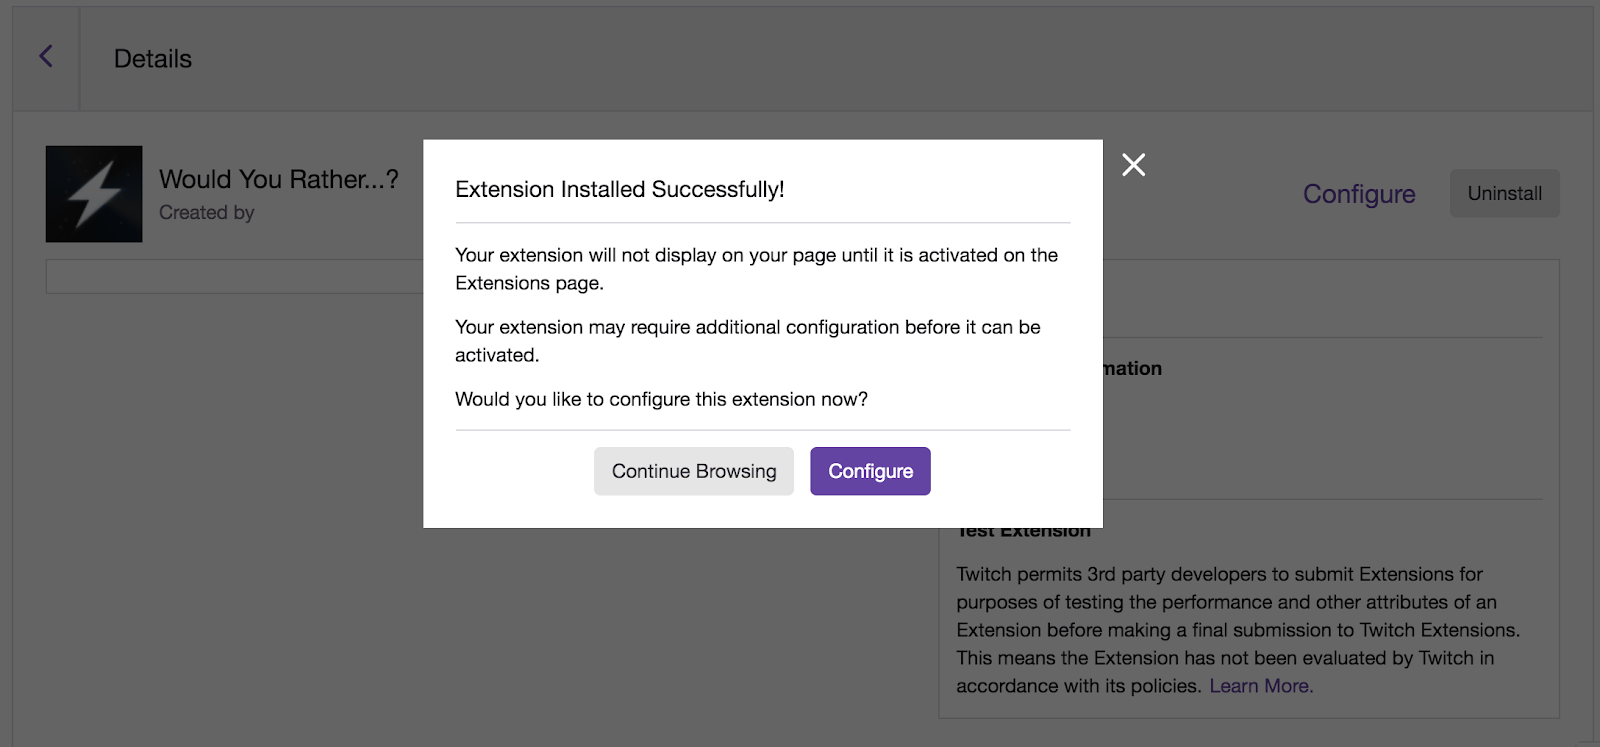
Configuration: Click Configure. Upon doing so, you will be directed to the Broadcaster Configuration Page. Here we see the page we created where the Broadcaster can select the options they want viewers to be able to choose from. Feel free to select a couple of these options and then click Submit. After doing so, close out of this page.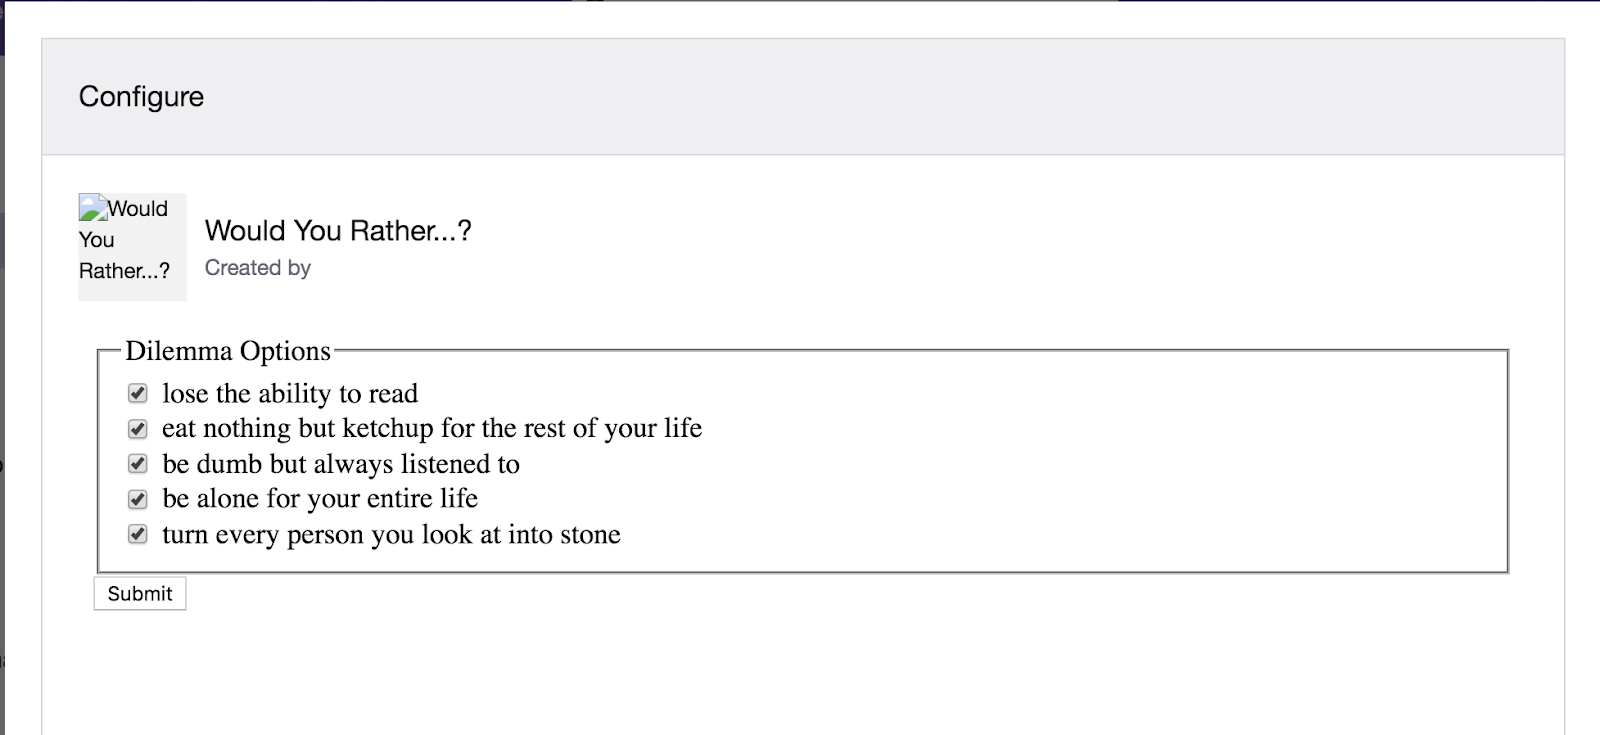
Upon closing this window, we land upon the Extensions page in the Broadcaster’s Dashboard.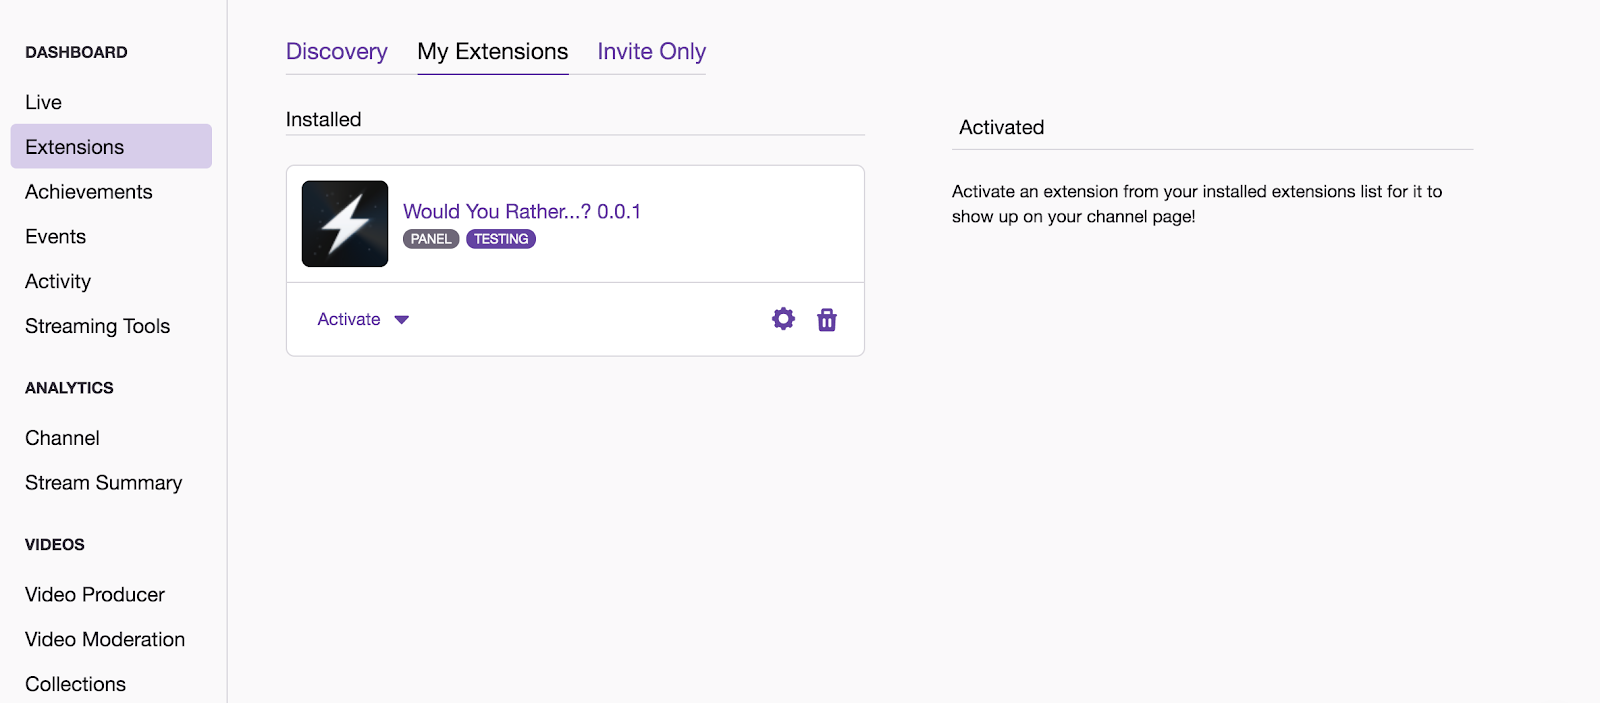
Activation: From this dashboard, select the Would You Rather…? Extension then click the Activate button. Upon doing so, you’ll see a couple of options. Select Set as Panel 1. If the activation is successful, you will see the following confirmation: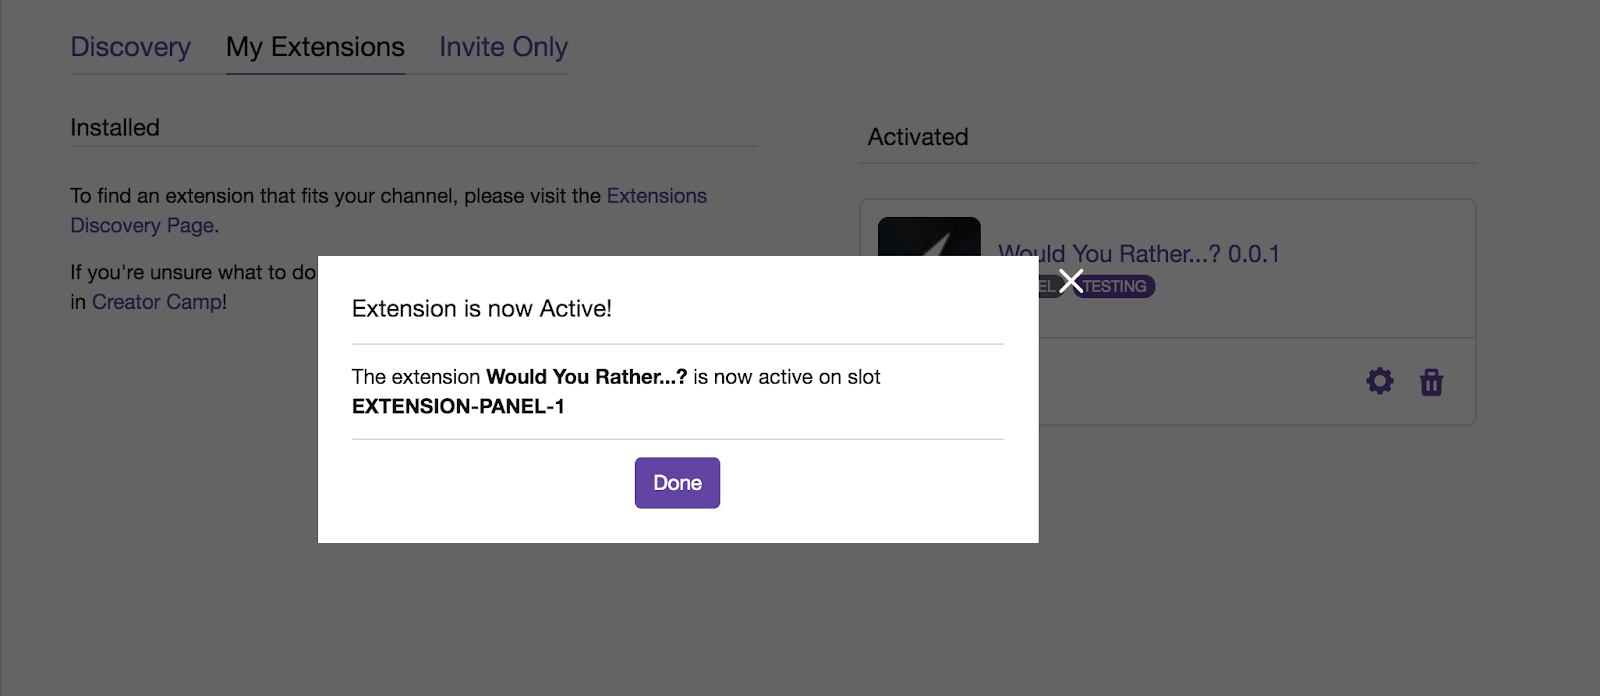
Step 4: Testing the Extension on Your Channel
Now it’s time to see how the Extension acts on the viewer side as a Panel. Navigate to your channel, and scroll down to the Panel Section (below the video player). You should see the following panel: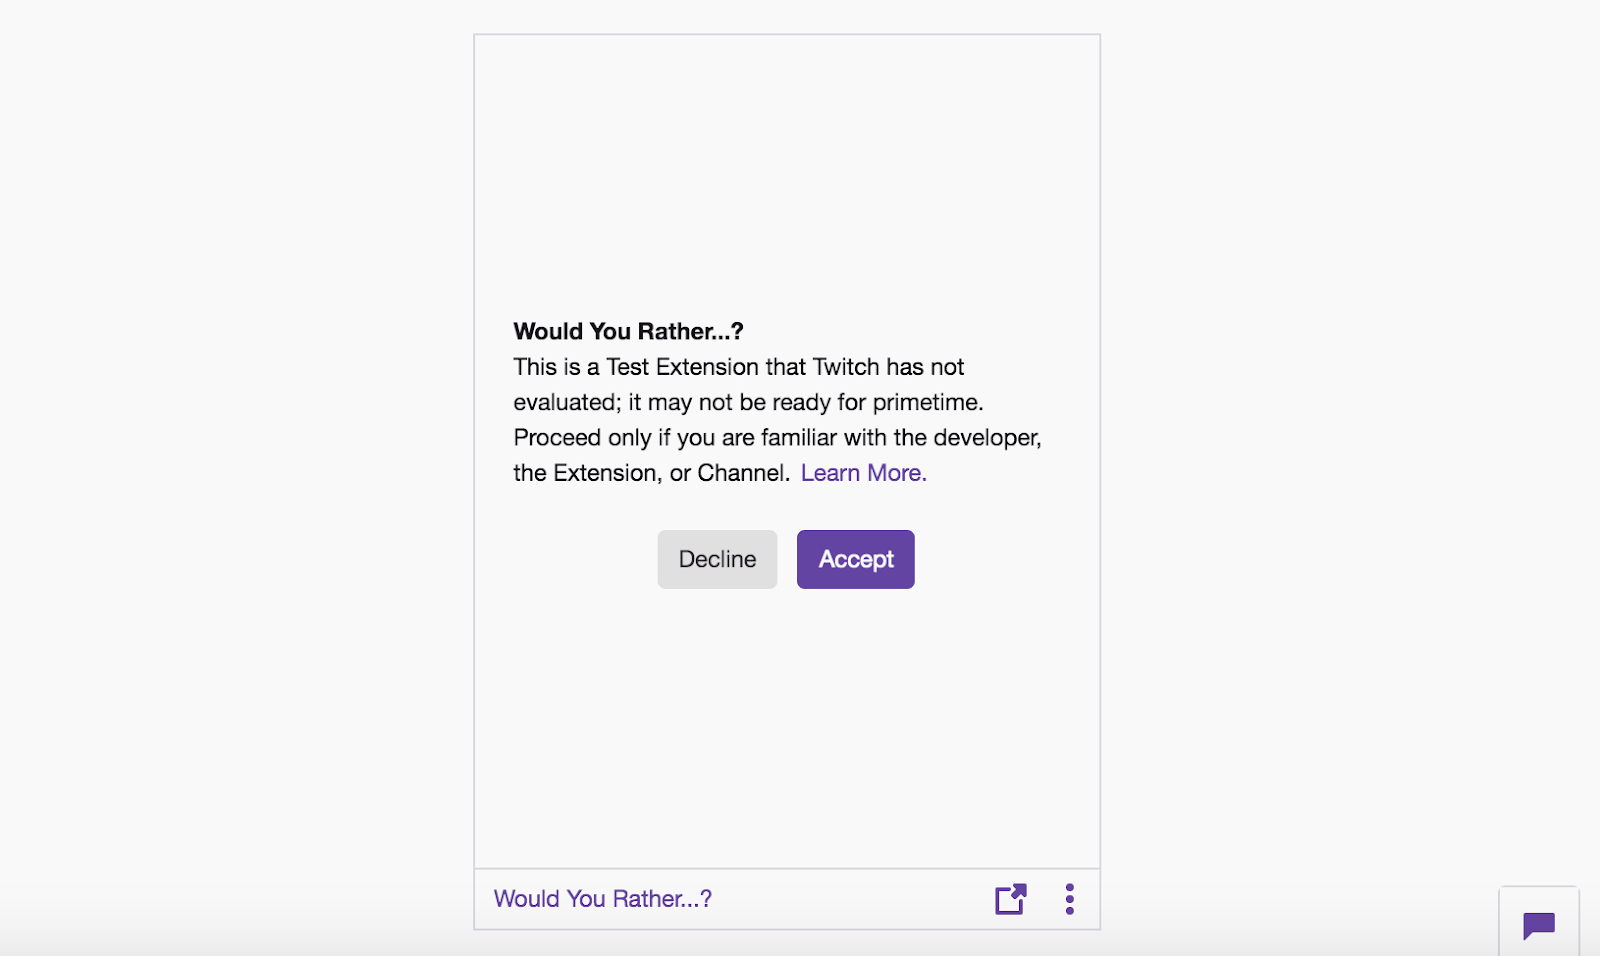
Clicking Accept will bring you to the Panel that viewers will see if this extension were live.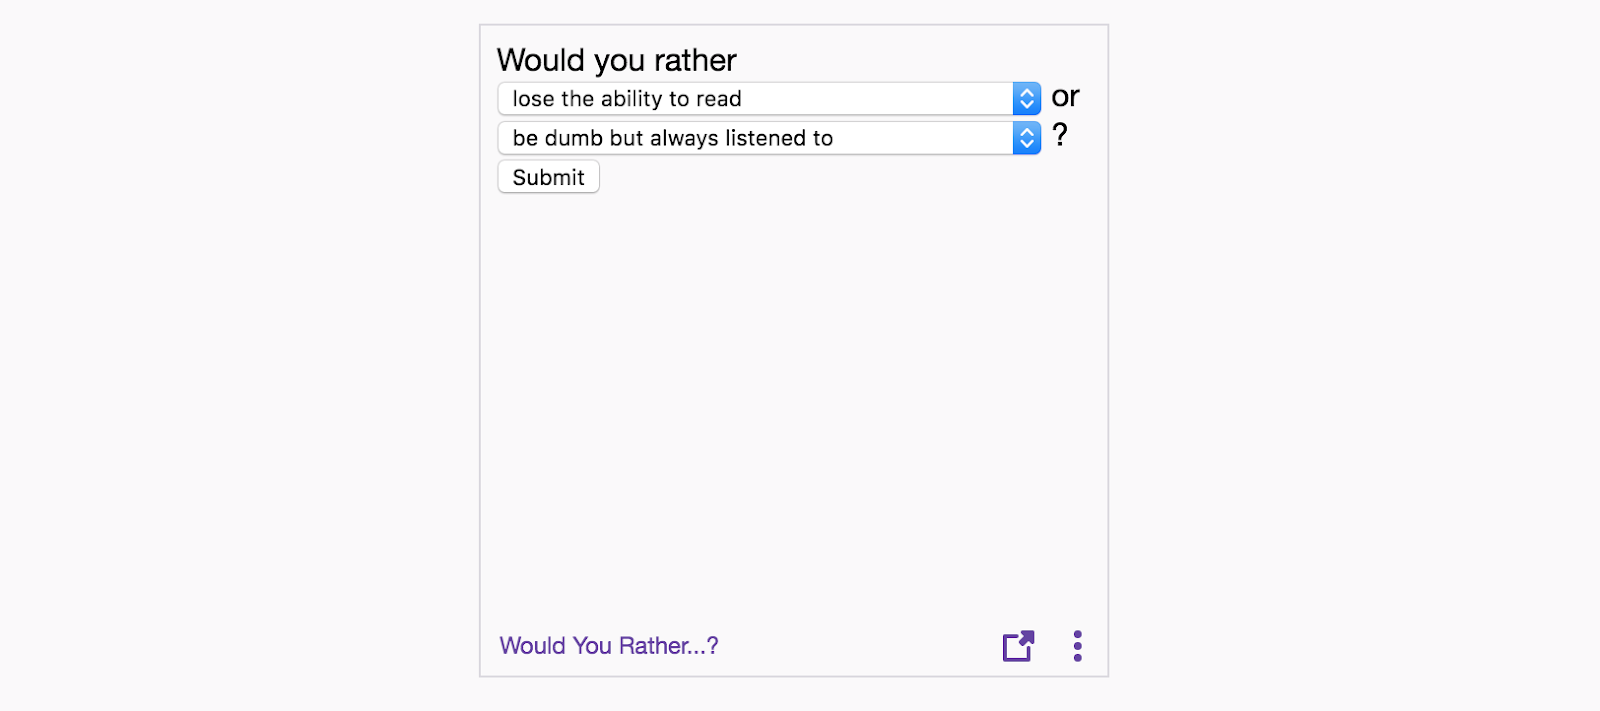
Check: At this point, we have built a functioning Extension that utilizes the Configuration Service, and covered various concepts such as dynamic anchors, life cycle management, and Extension configuration.
As you can see, the Configuration Service removes the need for a backend enables developers to build simple front-end-only Extensions that provide unique experiences for their viewers. However, in this Extension, we are going to set up a backend service to save the submitted WYR questions from the viewers, and present them live to the broadcaster. Even for Extensions like this one that require a back-end, the Config Service supports scenarios that requires the ability to persist channel specific data. Next, we are going to demonstrate how to integrate a backend service, and show the questions the viewers submitted to the broadcaster live!